
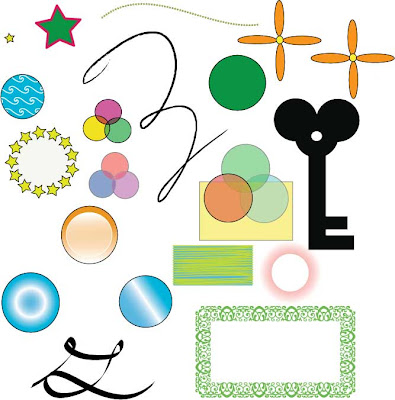
Tools and Skills Learned
- Text Stacking- I used the skills I learned with text stacking to create the first 4 images and their patterns and gradients.
- Figure Ground Reversal- I used this to create the next 4 images. At first, I made images with simple, multi-color backgrounds. I also made an image with positive and negative figure ground reversal. I used the add and subtract tools to make positive and negative letter spaces in the image.
- Text Ligature- I used my skills learned in text ligature to connect words and letters in a creative way
- Trace Tool- For my final four images, I replaced a letter with an image from the internet. To create an image on the page that does not pixelate no matter what it's resized to, I used the trace tool.
Self Reflection
I enjoyed completing my first project on Adobe Illustrator. I am becoming more and more familiar with the different tools and uses of Illustrator. I also liked the fact that this projected stayed away from the pen and pencil tools and was more involved in text, images, and shapes. This being my first project on Illustrator, I was able to use my own creativity and ideas in my work. The biggest problem I faced in my project was the positive and negative figure ground reversal. This caused a lot of problems for me and took me the longest to become familiar with. Overall, I liked this project because its much more fun to create and experiment with your own ideas.
Project/Participation
This was the most work i have put into a project so far. I really liked my outcome and thought it reflected my hard work.- 10/10

